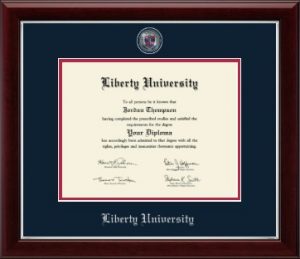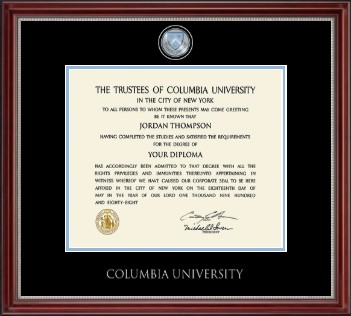

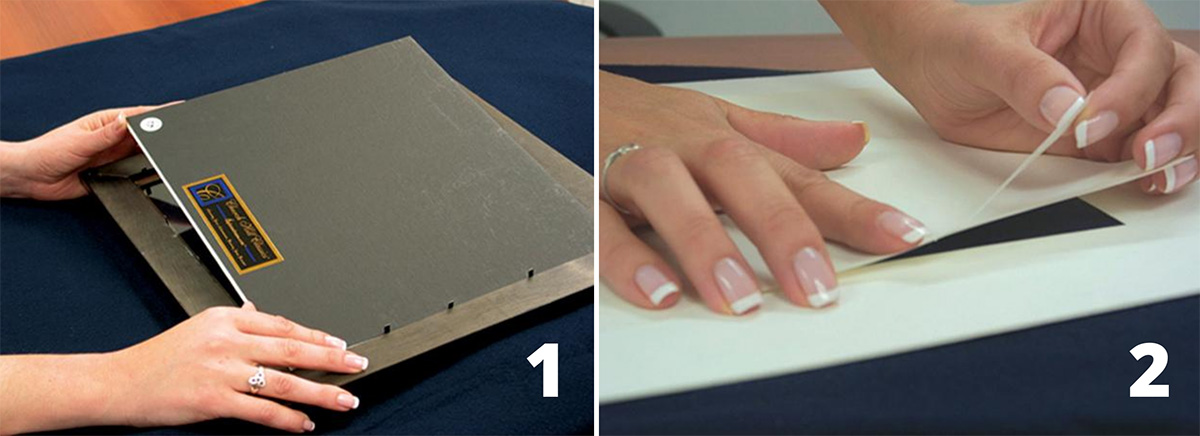
1️. Lay your frame facedown on a towel. Bend the black flexible tabs up using a knife. Remove the black backboard, mounting board, and paper insert, leaving the glass in place inside the frame. (Recycle the paper insert.)
2. Using the ruler, center the diploma facedown in the mat opening. Remove the strip of archival-quality tape included with your frame. Cut the tape in half with a pair of scissors. Peel and place tape approximately 4″ apart at the top of the document only,
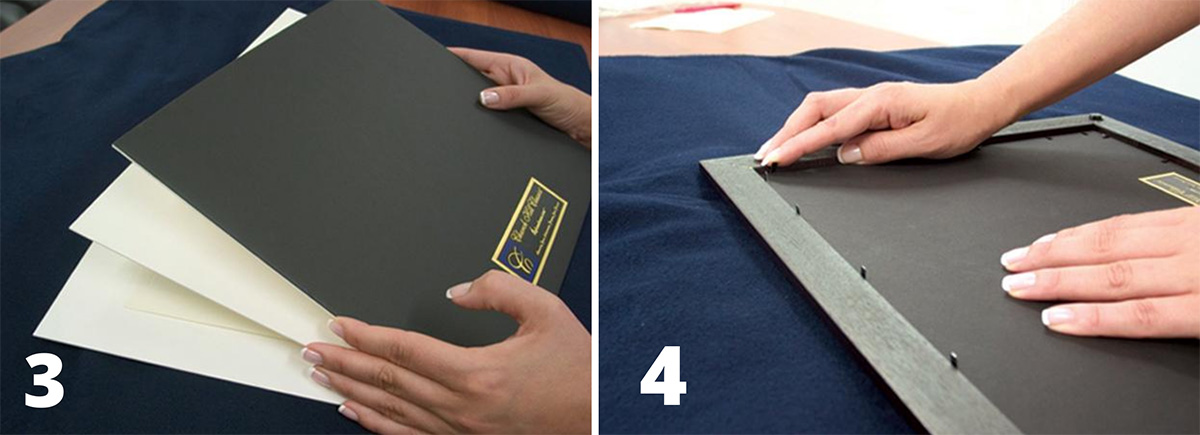
3. To prevent buckling and allow for natural document expansion, do not place tape on the sides or bottom of the diploma. Next, carefully layer the mat with taped diploma, mounting board, and black backboard, and set aside.
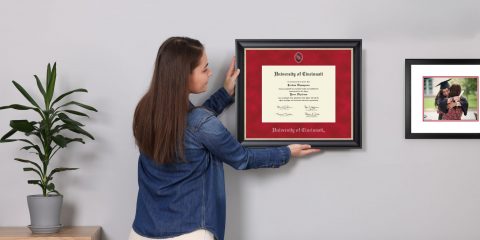
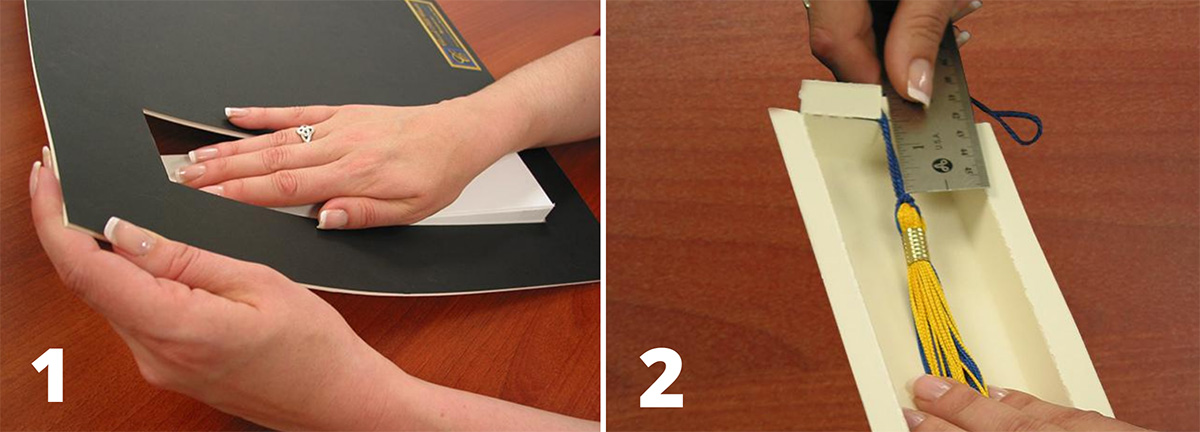
4. If needed, clean frame glass with ammonia-free glass cleaner and a soft cloth. (For Plexiglass, UV Acrylic, or UVRC Acrylic, use water only and a soft cloth.) When dry, set the diploma and boards in the frame. Push down flexible tabs to secure the backboard.
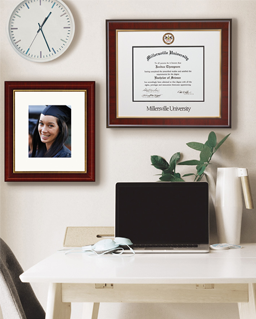
Framing Your Diploma & Graduation Tassel
What better way to commemorate the day you wore your graduation cap and gown than with a tassel and degree shadow box? If you’ve purchased a tassel diploma frame, make sure you attach your graduation tassel before you mount your diploma frame.
1️. First, remove the backboard and mat from your tassel document frame. Next, gently push the tassel shadow box through the backboard.
2️. Turn over the shadow box and gently insert the tassel loop into the slit at the top of the shadow box. Make sure your graduation year charm is facing out. Using a ruler, pull the tassel down 1 ½ inches.
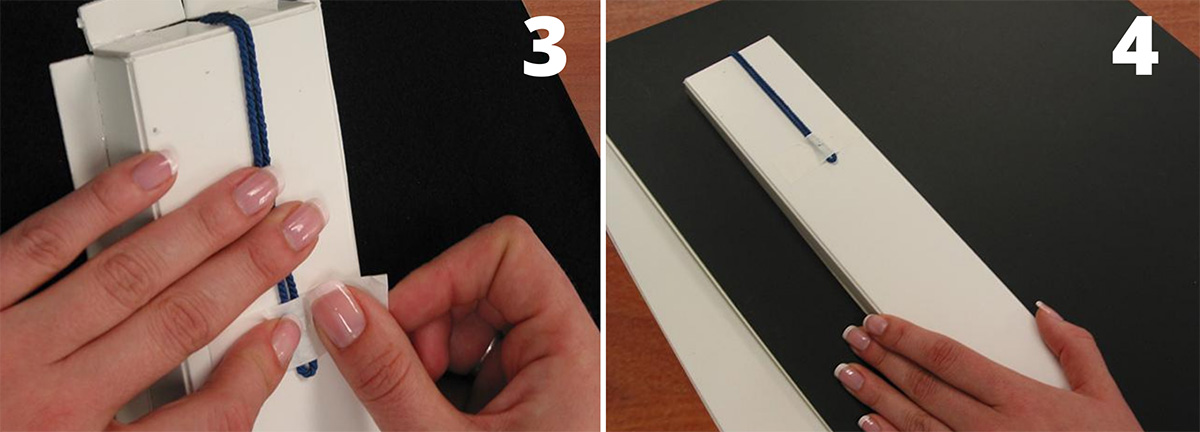
3️. Turn the shadow box over and use a strip of acid-free tape to secure the tassel loop to the back of the shadow box.
4️. Place the tassel shadow box and backboard back in place before securing the tabs on the back of the frame.